


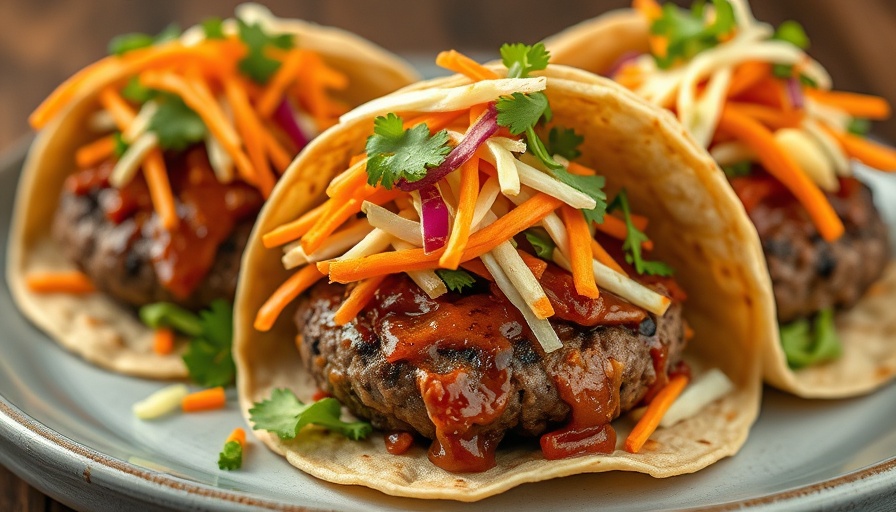
Transform Your Taco Night with Bold Japanese BBQ Smash Burger Tacos!
Are you ready to elevate your taco game? Introducing the revolutionary Japanese BBQ Smash Burger Tacos! A delightful marriage of flavors that combines the comfort of a classic taco with the savory depth of Japanese BBQ sauce. With this simple recipe, you won't just feed your family—you'll impress them!
A Flavorful Twist on a Viral Sensation
Like many culinary trends, the smash burger taco took social media by storm, particularly on TikTok. What started as a Big Mac-inspired creation has evolved into a canvas for culinary creativity. This Japanese BBQ version adds a unique flair that both adults and children will love. It's not only easy to make but brings a world of flavor right to your table. And guess what? You’ll only need six ingredients to whip these up!
Ingredients That Make a Difference
To make these tacos, you'll need:
- Ground Beef: Rich in flavor, you can also experiment with ground turkey or chicken for leaner alternatives, though bear in mind that they may shrink while cooking.
- Japanese BBQ Sauce: Look for brands like Bachans for a sweet yet savory experience.
- Street Taco Flour Tortillas: Perfectly sized to ensure every bite is packed with meat and flavor.
- Kewpie Mayonnaise: Adds creaminess; a staple in Japanese cuisine.
- Coleslaw Mix: A colorful and crunchy addition that enhances the texture of your tacos.
- Asian Salad Dressing: This is key for your slaw and can double as a fresh topping.
These ingredients not only simplify the cooking process but also create layers of umami in every bite!
Step-by-Step Guide to a Culinary Masterpiece
Making these tacos is as enjoyable as eating them! Here’s how to create your own delicious masterpiece:
- Prepare the Meat: In a bowl, mix ground beef with Japanese BBQ sauce. Form small meatballs, approximately 2 tablespoons each.
- Press and Cook: Place each meatball on a tortilla and flatten it out to the edges. Cook in a cast-iron skillet for 2 minutes, then flip for another 30 seconds to achieve that golden crust.
- Make the Slaw: Combine Asian salad dressing and Kewpie mayo in a bowl, mix in the coleslaw, and toss until well coated.
- Assemble and Serve: Top each taco with the slaw mix and serve immediately.
This method not only ensures even cooking but also guarantees that every taco boasts that crispy, delicious edge.
Show-Stopping Serving Suggestions
Want to impress your dinner guests or family? Pair these fantastic tacos with some Vietnam-inspired sides, such as:
- Air Fryer Zucchini Fries: A crispy alternative to regular fries that complements the flavors of the tacos.
- Sesame Soy Kale Salad: Light and fresh, it balances the rich flavors of the taco filling.
- Vegetarian Fried Rice: Another Asian touch that will round off the meal beautifully.
Not only will these suggestions create an unforgettable meal, but they’ll also elevate your taco night from ordinary to extraordinary.
Why Japanese BBQ Smash Burger Tacos Matter
In a world where busy schedules can often dictate our meals, Japanese BBQ Smash Burger Tacos represent a way to reunite family and friends over creative, homemade food. They remind us that cooking can be fun and full of exploration, allowing us to take culinary risks while still feeding our bodies wholesome and hearty food.
So why not embrace this culinary adventure with your loved ones? Give this recipe a try, and you might find that it becomes the new staple of your taco nights.
As we continue to evolve our cooking styles, stay tuned for more fusion recipes that transform familiar dishes into something new and exciting. Join our cooking club for more inspiring recipes and tips!


Write A Comment